Guides / Getting started
Getting started
Install Highlix Studio, run the Set up Highlix checklist and record your first session. Allow about 15 minutes, most of it waiting for downloads.
Before you start
- Windows 10 or 11, 64-bit, with an internet connection for the install. See the system requirements.
- About 1 GB free for Highlix, and plenty of space for recordings.
- You don't need to install OBS Studio first. Highlix's set-up can download it from the official OBS Project website, together with the Source Record plugin, if you don't have them.
Install Highlix
- Download and run the installerIf Windows shows “Windows protected your PC”, choose More info then Run anyway. See SmartScreen.
- Choose your optionsTwo tick-boxes: Start OBS for me when Highlix opens (as administrator), which is on by default, and a desktop shortcut. Highlix installs for you only, so no administrator password is needed.
- Wait for the set-up downloadHighlix downloads its own runtime (about 700 MB, once). If you were offline or it failed, use the Finish Highlix set-up shortcut in the Start menu to run that step again.
- Open Highlix StudioFrom the Start menu or desktop shortcut. It opens in its own window.
Run the “Set up Highlix” checklist
The first time you open Highlix, the Studio page shows a Set up Highlix checklist. Work down it:
- OBS installed?Highlix looks for OBS in the usual places. If it's missing, press Get OBS and Highlix downloads the newest official installer from the OBS Project and runs it.
- Source Record plugin?Highlix needs this OBS plugin to save your game and each camera as separate files. If it's missing, press Get Source Record. If a download fails, Highlix names the plugin's web page so you can get it by hand.
- WebSocket linked?Highlix reads OBS's own WebSocket settings and copies the port and password for you. If OBS's WebSocket server is switched off, press Switch it on (OBS must be closed while it does this).
- Start OBSHighlix starts OBS as administrator, which Game Capture needs for many games. With the install option on, it does this every time Highlix opens.
Closed the checklist? Go to Settings → OBS → Check the set-up to bring it back.
When everything is ready, the pills along the top of the app show OBS connected, along with the state of game auto-follow, split audio and voice commands.
Tell Highlix about your mic and cameras
- Choose your micPress Audio in the bar under the previews, then Choose mic and pick the microphone you use. Voice commands listen on the same mic - or pick a different one for them in Voice (or Settings > Voice commands).
- Choose your voice-chat apps (optional)In the same Audio panel, press Choose apps and tick Discord, TeamSpeak or whatever you chat on, so voice chat gets its own sound line.
- Add cameras (optional)Press Camera in the bar, then + Add camera. Cameras OBS already uses are listed first. Drag each camera where you want it in the landscape and vertical previews.
Your first session
- Check your PC (optional)Highlix's Auto quality already picks safe recording settings for your PC. For extra peace of mind, go to Settings → Recording quality and press Test my PC, a 20-second check. See recording within your PC's limits.
- Press Start sessionIt's the button at the top right. A timer starts.
- PlayPress F7 to mark a moment, or F8 (or say “clip that”) to save a clip. You can skip this and let Highlix find moments.
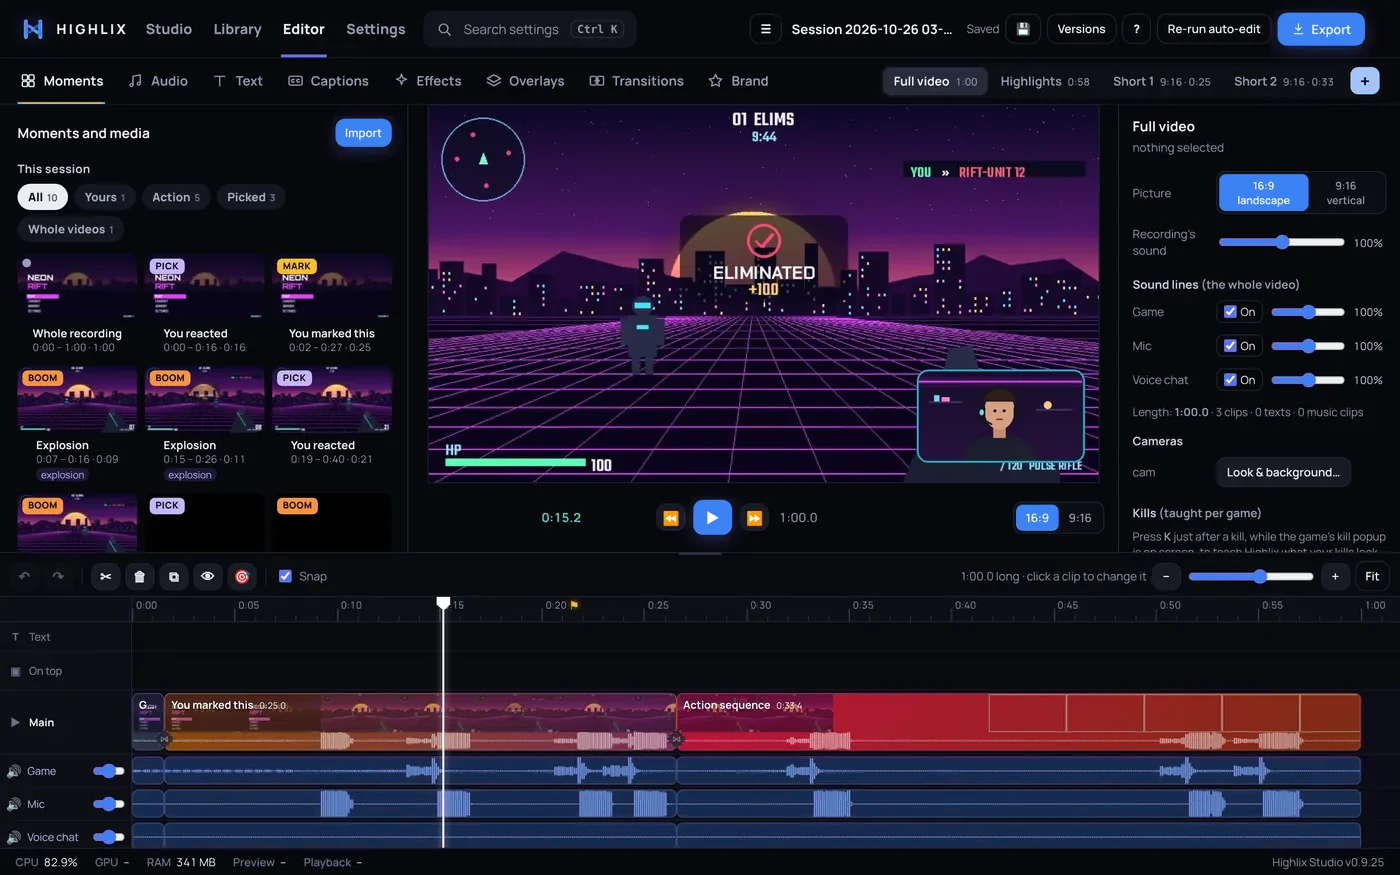
- Press StopHighlix moves your recordings into a Highlix Sessions folder and opens the Editor, showing the auto-edit's progress.
- Look at your videosWhen the auto-edit finishes, you'll have a full video, a highlights reel and Shorts, ready to tweak or export.
Try a short session first, even five minutes, to check your game, mic and cameras all appear before you play a long one.
Next: Recording a session.